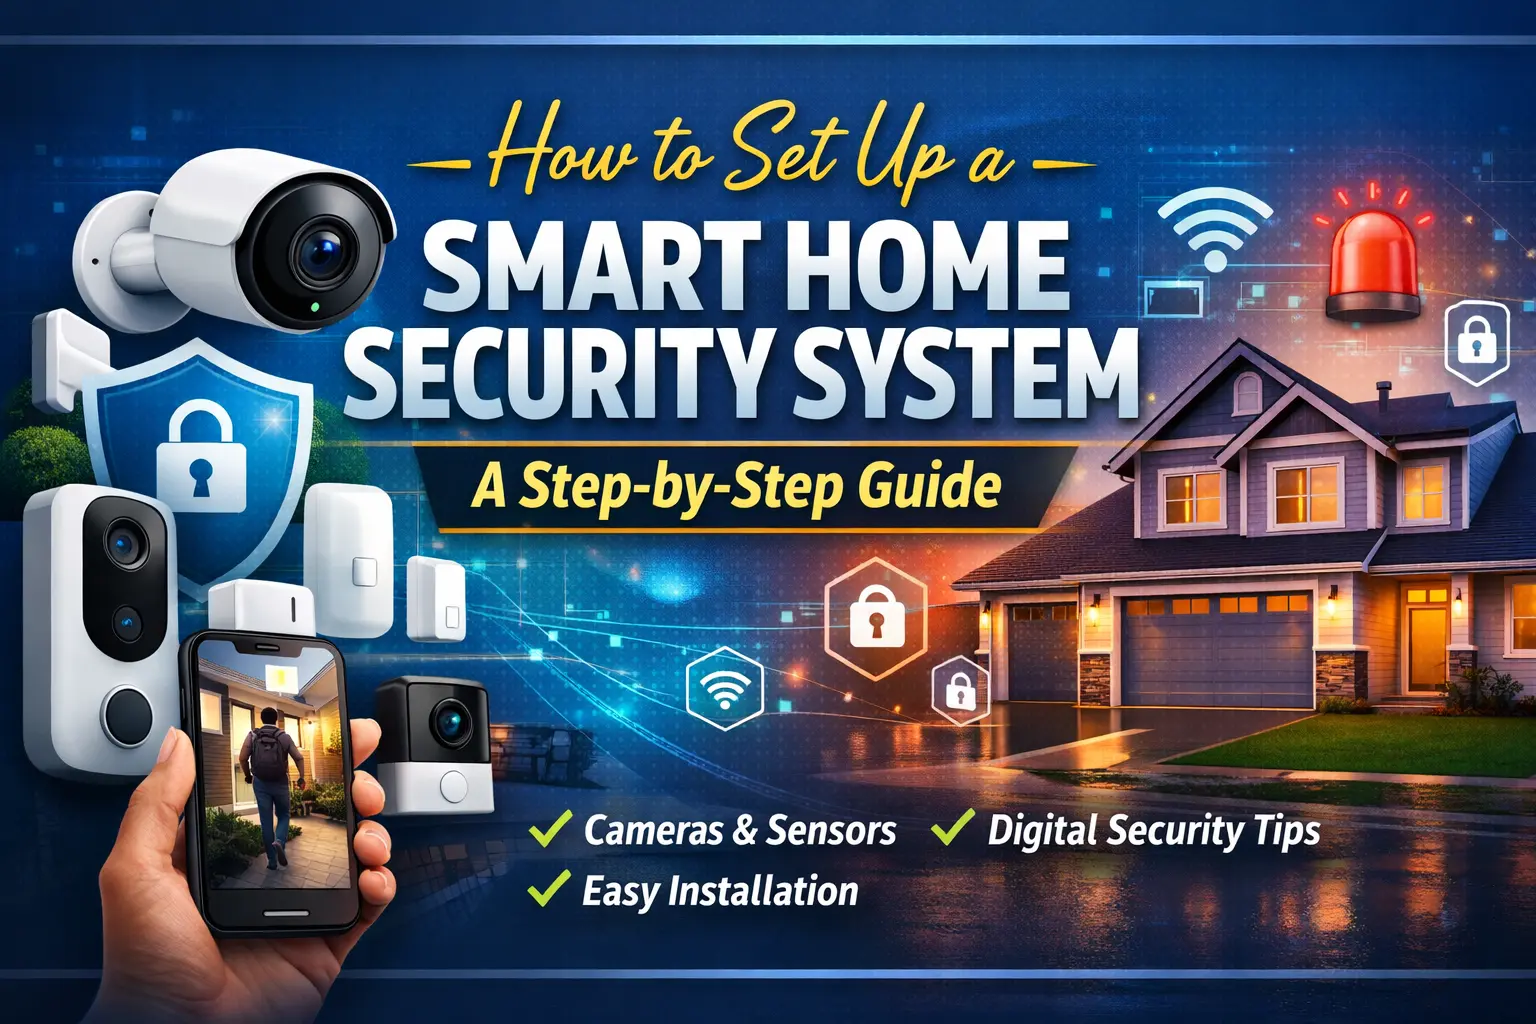
Worried about safety? This guide covers smart home security system from scratch. We break down cameras, sensors, and apps step-by-step. Learn how to set up security that actually works in the real world, blending digital security with physical safety.
Introduction
Friends, let’s be honest for a second. How many times have you left your house, driven twenty minutes down the road, and suddenly panicked? *“Did I lock the back door?”* or *“Did I leave the window open?”* It happens to the best of us. I have seen for myself how anxiety about safety has changed over the last decade.
We used to rely on the iron grill windows and that uncle sitting on a chair outside. But times have changed. The concept of home security isn’t just about iron bars anymore; it’s about eyes everywhere, even when you are sitting in a coffee shop in Seattle or stuck in traffic in Dhaka.
This is where smart home security comes in. It sounds fancy, maybe even a bit “rich people” stuff, but it’s not anymore. I have watched the prices drop and the tech get better. But here is the catch—buying a camera is easy. Setting it up so it doesn’t give you a headache? That is the hard part.
So, if you are wondering how to set up security that actually protects you without driving you crazy, you are in the right place. Let’s try to understand it easily, step by step.
Step 1: Stop Buying, Start Looking (The Planning Phase)
I see this mistake all the time. People go to the market or scroll through Amazon, see a shiny smart home camera, buy it, and then realize it doesn’t fit their wall. Or worse, they buy three different brands that don’t talk to each other.
Before you spend a single penny, grab a cup of tea and walk around your house. I mean it. Walk around.
Identify the “Weak Points”
Every house has them. In the USA, it’s usually the back sliding door or the garage. In our context, it might be the ground floor window or the side gate. These are your entry points. You don’t need a camera in the bathroom, right? Focus on doors and windows.
Check Your Wi-Fi Strength
This is the biggest failure point. I have set up systems where the camera is two walls away from the router, and the video keeps buffering. A smart home security system is only as good as your internet. If your Wi-Fi is weak in the corridor, no expensive camera will save you.
Pro Tip: If you are struggling with connectivity, you might want to look into Mesh Wi-Fi systems. We have discussed the best [technology] for network coverage before, and it’s a game-changer for security cams.*
Step 2: Choosing Your Ecosystem (Don’t Mix Apple and Oranges)
This is where most people get confused. There are hundreds of brands. Wyze, Ring, Eufy, TP-Link, Hikvision. Which one?
Here is the golden rule: Stick to one ecosystem.
If you buy a Ring doorbell, a Xiaomi motion sensor, and an Eufy camera, you will need three different apps to check them. That is a nightmare. When you are looking for how to set up security, simplicity is key.
My Recommendations for 2024:
- For the Budget Conscious (Best Value): TP-Link Tapo or Eufy. They offer great local storage (SD cards) so you don’t have to pay monthly fees.
- For the Premium/USA Market: Ring or Nest. They integrate perfectly with Alexa and Google Home.
- For Privacy Freaks: Eufy or Apple HomeKit. They store data locally on the device, not the cloud.
According to a recent [report by Security.org](https://www.security.org/home-security-systems/), nearly 60% of Americans now use some form of smart security. The trend is moving away from expensive contracts (like ADT) to DIY smart home setups.
Step 3: The Installation – Drilling and Placing
Okay, you have the box. You have the drill. Let’s do this.
The Height Matters
I cannot tell you how many times I’ve seen cameras placed so high they catch the forehead, or so low a thief can just kick it. The sweet spot? 8 to 10 feet high. Tilt it down slightly. You want to see faces, not hair.
The “Corner” Strategy
Don’t put the camera flat against the wall. Pull it out 4-6 inches. Why? Because if a burglar knows you have a camera, they might spray paint the lens. If it’s in the corner, it’s harder to reach.
Wired vs. Wireless
This is a huge debate in digital security circles.
- Wireless (Battery): Easy to install anywhere. But you have to charge them every 3-6 months. In Bangladesh’s heat, batteries die faster.
- Wired: Annoying to set up because of the cables. But once it’s done, it’s done. No charging.
- My take? If you can drill, go wired. If you rent, go wireless.*
Step 4: The “Bangladeshi Reality” Check (Power & Internet)
Now, let’s get real. I am writing this for you, sitting in your reality.
In the USA or Europe, the power rarely goes out. But here? Load shedding is part of life. If the power goes out, your Wi-Fi router dies. If the router dies, your smart home security dies. The thief comes, cuts the power (if it’s a wired cam), and robs you blind. The camera records nothing.
So, how to set up security that survives load shedding?
- UPS for the Router: You need a small UPS just for your modem and cameras. Not for the whole house, just the security gear.
- 4G Backup Cams: Some expensive Eufy or Reolink cameras have 4G sim slots. If Wi-Fi dies, they use mobile data. It’s pricey, but it’s the ultimate safety net.
- Local Storage: Never rely 100% on the cloud. If the internet is down, the cloud is gone. Buy cameras with SD card slots. Even if the net is down, it records locally.
This is the stuff the fancy American blogs don’t tell you. They assume 24/7 electricity. We don’t have that luxury yet.
Step 5: Digital Security – Don’t Let Hackers Watch You
This is the scary part. You buy a camera to stop thieves, but you end up letting the whole world watch you.
Remember that website where people watched feeds from nurseries and bedrooms? That happened because people used default passwords like “admin/12345”.
When setting up your smart home security, follow these three rules, or don’t bother installing it:
1.Change the Default Password: Immediately. Make it long. Use symbols.
- Two-Factor Authentication (2FA): Turn it on in the app. If someone tries to log in from a new phone, you get a text.
- Firmware Updates: When the app says “Update Available,” do it. Those updates fix the holes hackers use to get in.
We live in an era of [AI] and automation, but that means hackers are using AI too. Don’t be the low-hanging fruit.
Step 6: Sensors – The Invisible Walls
A camera is reactive—it records *after* the door is broken. But home security should be proactive. It should scare them away *before* they enter.
This is where door sensors and motion detectors come in.
The Setup:
Stick a small sensor on your door and the frame. Stick a motion sensor in the hallway.
Connect them to your main hub (Alexa, Google Home, or the brand’s hub).
The Scenario:
It’s 2 AM. A window opens. *BEEP BEEP BEEP.* The siren goes off. The lights turn on automatically.
99% of thieves will run away. They want easy targets, not a house that screams at them.
I have seen folks in my neighborhood use cheap magnetic sensors (costs 500-800 BDT) connected to a smart plug. When the door opens, the plug turns on a bright light. Cost? Under 2000 BDT. Effectiveness? 100%. You don’t always need expensive gear.
Step 7: The App – Taming the Notifications
You set everything up. You feel like James Bond.
Two days later: Your phone buzzes. *Motion Detected.*
You check. It’s a cat.
Buzz. A tree branch.
Buzz. A car headlight.
You turn off notifications because you’re annoyed. A week later, you get robbed.
This is the “Notification Fatigue.” It’s real. Here is how to set up security zones correctly:
- Don’t monitor the street: If your camera faces the road, turn off motion alerts for the road. Only alert for your door area.
- Sensitivity Slider: Turn it down. Most apps have a sensitivity bar. Slide it to 40-50%.
- Schedules: Set the alarm to be “Home” during the day (so it doesn’t go off when you walk around) and “Away” at night.
Step 8: Integrating with Voice Assistants
This is the fun part. The “Smart” in smart home security.
“Alexa, show me the front door.”
*Boom.* The Echo Show displays the feed.
“Hey Google, am I safe?”
*”Yes, all doors are locked and motion sensors are active.”*
It feels like sci-fi, but it’s 2024. When you are setting up, make sure the devices say “Works with Alexa” or “Works with Google Assistant.” It changes how you live. You don’t need to open 5 apps; you just use your voice.
If you are new to this voice tech, check out our guide on [New Tech] trends to see which assistant fits your life better.
Step 9: The Hidden Costs (Don’t Get Scammed)
I have to be the bad guy here. The camera costs 3000 Taka. But wait…
To see who knocked on your door 2 hours ago? That’s a “Cloud Subscription.” $3/month.
To see the 4K video? Another $5/month.
Suddenly, your 3000 Taka camera is costing you 10,000 Taka a year.
How to avoid this:
Buy cameras that support RTSP or ONVIF. Or, just buy brands like Eufy or TP-Link Tapo that give you 24-hour recording on an SD card for FREE. Forever. No subscription.
Don’t fall for the “Cloud” trap unless you really, really need it. For most of us, a 128GB SD card is more than enough.
Step-10: Data Check: Is it actually working?
Let’s look at the numbers. Because I am a journalist, I need facts.
According to the University of North Carolina at Charlotte, 60% of burglars will flee if they see an alarm system or camera. That is a huge statistic. But here is the kicker: Only 17% of homes have them.
Why? Because people think it’s hard. They think it’s expensive.
But we just broke it down. You can get a decent setup for under 10,000 BDT. Less than the price of a mid-range smartphone.
So, the question is—does this work for everyone? Yes. Whether you live in a high-rise in Gulshan or a house in Chittagong, the psychology of a thief is the same. They want the path of least resistance. Smart home security raises the difficulty level.
Global vs. Local: What works where?
If you are in the USA, Ring is king because of the “Neighbors” app (community watch).
If you are in Europe, GDPR laws make Nest/Google better for privacy.
If you are in Bangladesh/India? Eufy and TP-Link Tapo are kings. Why? Because their servers are in Asia, the apps are fast, and they handle our voltage fluctuations better.
Don’t just buy what YouTubers in California are using. Buy what works on your internet connection.
I remember setting up a Nest cam for a friend here. The video took 10 seconds to load because the server was in California. Useless. We swapped it for a Tapo cam (server in Singapore), and it loaded instantly. Location matters.
Common Mistakes (Learn from my pain)
I have installed dozens of these. Here is where I messed up, so you don’t have to.
- Putting the Hub in a closet: The “Brain” of your system needs air and Wi-Fi signal. Don’t hide it in a TV cabinet.
- Forgetting the Guest Mode: When friends come over, give them a Guest Wi-Fi. Don’t give them your main Wi-Fi password where your cameras are connected. It’s a [Digital Security] risk.
- Ignoring the Chime: If you have a doorbell cam, buy the Chime. Don’t rely on your phone buzzing. You might be in the shower. The Chime rings through the house.
The Future: AI and Facial Recognition
We are moving into an era where cameras don’t just record—they think.
Newer cams can tell the difference between a person, a pet, and a package.
Soon, they will recognize *your* face and ignore it, but alert you if they see a *stranger*.
This is the frontier of [AI] in homes. It’s happening now. Is it creepy? Maybe. Is it safe? Definitely.
If you are buying today, get a cam with “AI Human Detection.” It saves you from watching 50 videos of swaying trees.
Conclusion
Setting up a smart home security system isn’t about being paranoid. It’s about being prepared. It’s about that peace of mind you get when you are on vacation, scrolling through your phone, and you see your living room is empty and safe.
We have come a long way from asking the night guard “Sab ठीक hai na?” (Is everything okay?). Now, we have data. We have proof. We have control.
It doesn’t have to be expensive. It doesn’t have to be complicated. Just start small. One camera. One sensor. Build from there. Your safety is worth more than a fancy dinner.
You can let us know how you liked today’s blog through comments. You can also suggest to us what kind of blog you would like to have in the future.
Frequently Asked Questions (FAQ)
Ques: What is the best budget smart home security system for beginners?
Ans: Go for TP-Link Tapo or Eufy. They are cheap, reliable, and you don’t have to pay monthly cloud fees. Perfect for starting out.
Ques: Do I need high-speed internet for home security cameras?
Ans: You need stable internet, not necessarily super high speed. 2-5 Mbps upload speed is usually enough for 2-3 cameras.
Ques: Can hackers see my smart home cameras?
Ans: Yes, if you use weak passwords like “123456”. If you use strong passwords and 2-Factor Authentication, the risk is almost zero.
Ques: How to set up security cameras without Wi-Fi?
Ans: You can’t view them remotely without internet, but you can record locally on an SD card. For remote view, you need Wi-Fi or a 4G data plan for the camera.
Ques: Is wired or wireless smart home security better?
Ans: Wired is better for reliability (no charging batteries), but wireless is easier to install. If you can drill walls, go wired.
Ques: Does digital security mean I need antivirus on my camera?
Ans: No, the camera itself is safe. Digital security here means securing your Wi-Fi router and the app account with strong passwords.
Ques: What is the most important part of a smart home security setup?
Ans: The placement. A cheap camera placed in the right corner is better than a $200 camera placed in the wrong spot.